
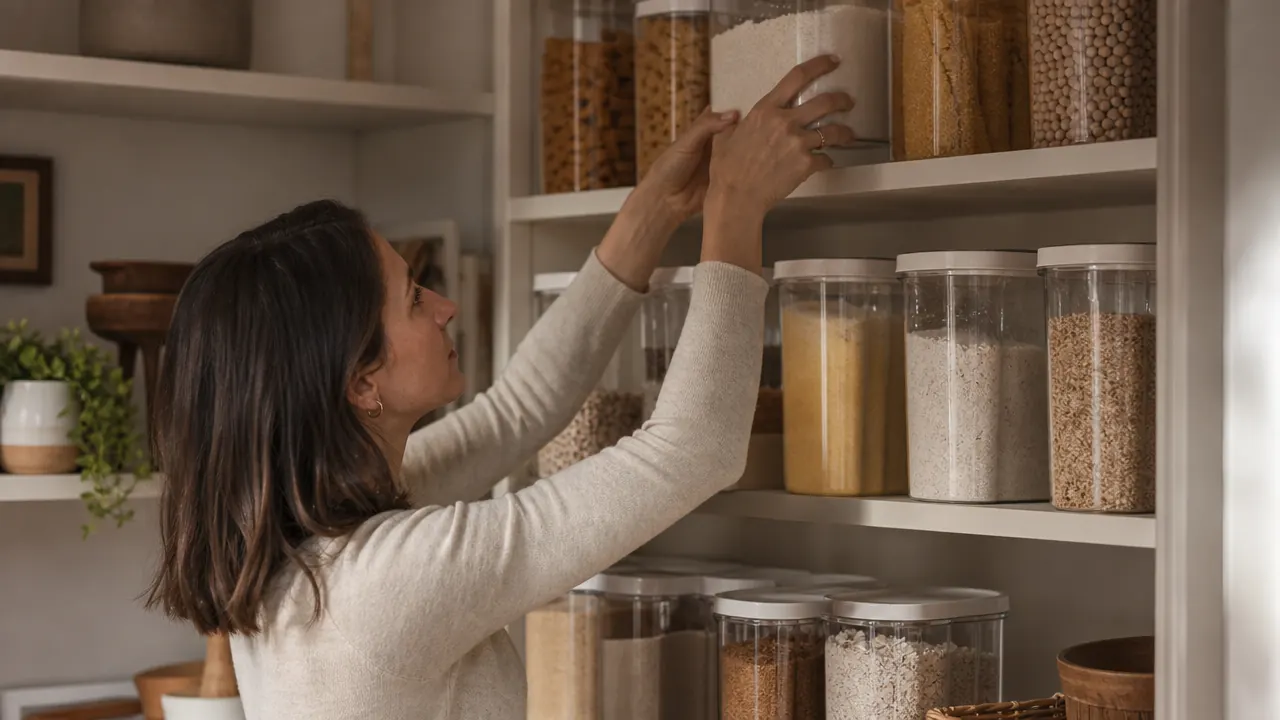
My pantry shelf in the second apartment I rented looked fine from three feet away. Up close it was six open bags of pasta, a box of oatmeal with a rubber band around it, and a container of breadcrumbs I was pretty sure expired before I moved in. Every time I reached for flour I knocked something over. I reorganized it four times in two years and it always drifted back to chaos within six weeks.
The problem was not laziness. It was that bags and boxes are not designed to stack, stack neatly, or stay sealed. The fix I finally landed on was switching every dry staple into clear airtight containers with proper lids. The shelf I have now has been organized since November. Same shelf, same square footage, completely different result. This guide walks you through the exact process: audit, measure, buy, fill, label, and arrange. No shelving upgrades, no drilling, no weekend commitment.
Your pantry will not organize itself this weekend. The CHEFSTORY 8-piece set gives you a full container lineup at a reasonable price.
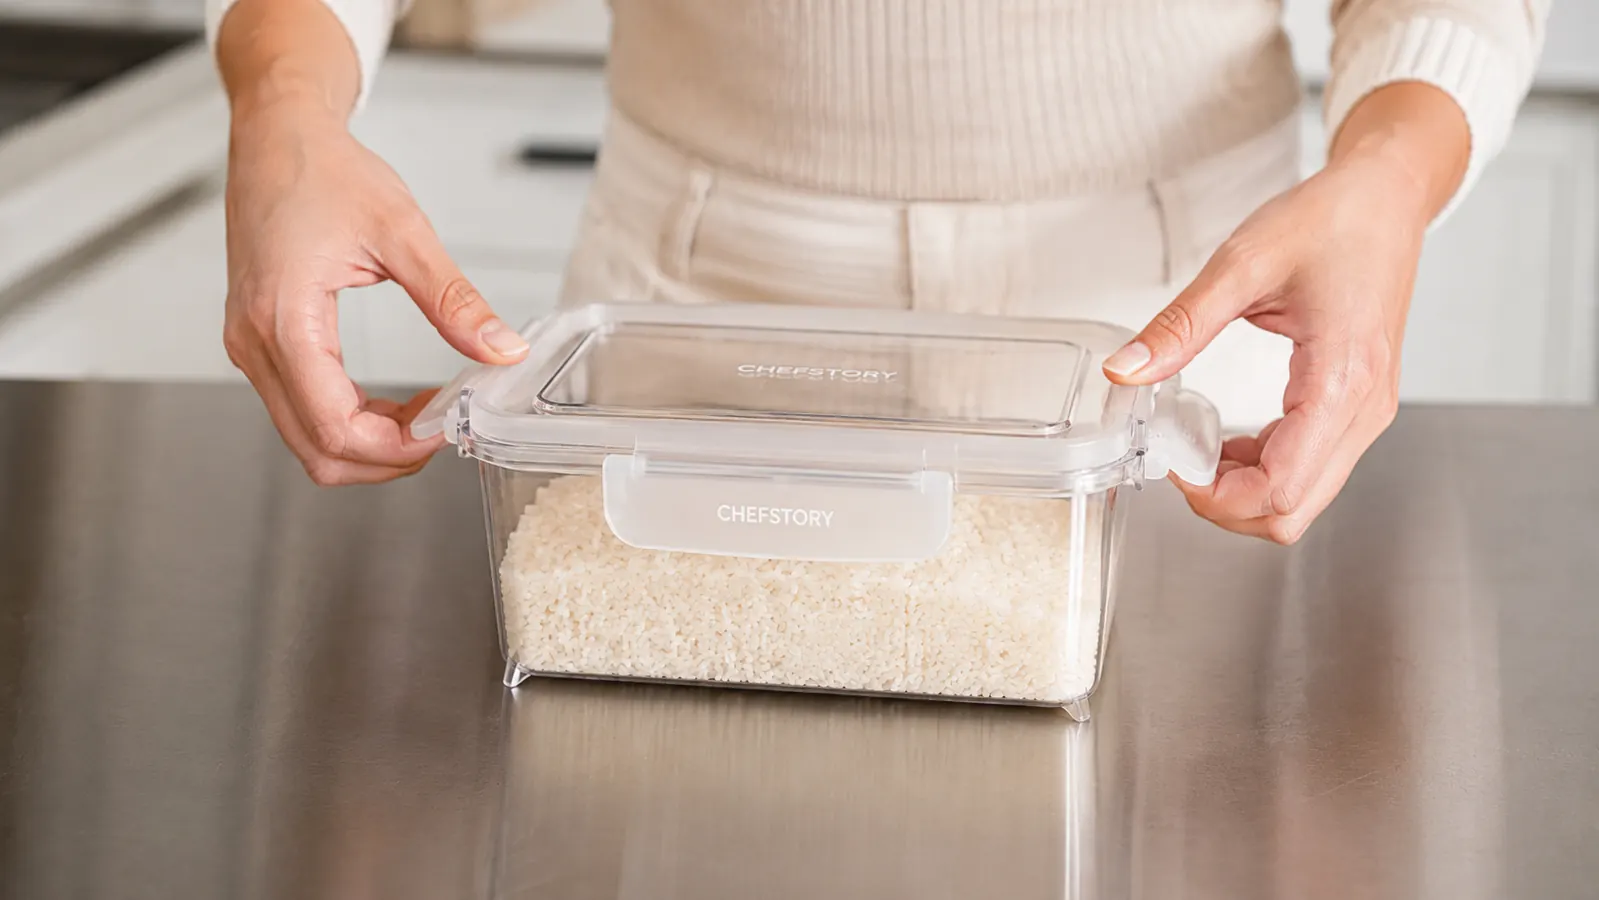
CHEFSTORY airtight containers come in four sizes, have four-latch lids for a real seal, and are BPA-free. Rated 4.6 stars from over 6,600 buyers. This is the set I use for grains, baking staples, and pasta.
Amazon Check Today's Price on Amazon →Step 1: Pull Everything Off the Shelf and Do a Hard Audit
This step takes about 30 minutes and it is the one most people skip, which is why their pantry re-clutters inside a month. Set a box or a trash bag on the counter and pull every single item off the shelf. Do not sort as you go. Just clear it.
Once everything is out, go through it ruthlessly. Check expiration dates. Anything past its date goes in the trash without debate. Anything you have not touched in four months and cannot name a specific meal you will cook with it also goes. I typically throw out 20 to 30 percent of what I pull down. That alone creates more usable space than any organizer ever will.
Group what remains into categories: baking (flour, sugar, baking soda, baking powder), grains and pasta (rice, oats, lentils, elbows, spaghetti), snacks (nuts, seeds, dried fruit, granola), and cooking staples (breadcrumbs, cornstarch, protein powder if you keep it there). You will use these categories to plan your container arrangement later.
Step 2: Measure Your Shelf and Count Your Categories
Before you order anything, grab a tape measure. Write down shelf width, depth, and the clear height between shelves. Most standard pantry shelves run 11 to 14 inches deep and 24 to 36 inches wide. Clear height between shelves is often only 9 to 12 inches, which limits how tall your containers can be.
The CHEFSTORY 8-piece set comes with containers in four sizes: two 0.5-liter, two 1.0-liter, two 1.5-liter, and two 2.5-liter units. Heights are roughly 4.5 inches for the 0.5L, 5.5 inches for the 1.0L, 7.0 inches for the 1.5L, and 9.5 inches for the 2.5L. If your shelf only has 9 inches of clear height, the largest container will not fit standing upright. Measure before you commit.
Count how many distinct dry-good categories you actually use. Eight containers covers eight categories, which is enough for a typical single-person or couple household. For a family with more variety you may want a second set, or you can supplement with a few single large containers for items that take up more volume, like a 5-pound bag of all-purpose flour.
Step 3: Match Each Dry Good to the Right Container Size
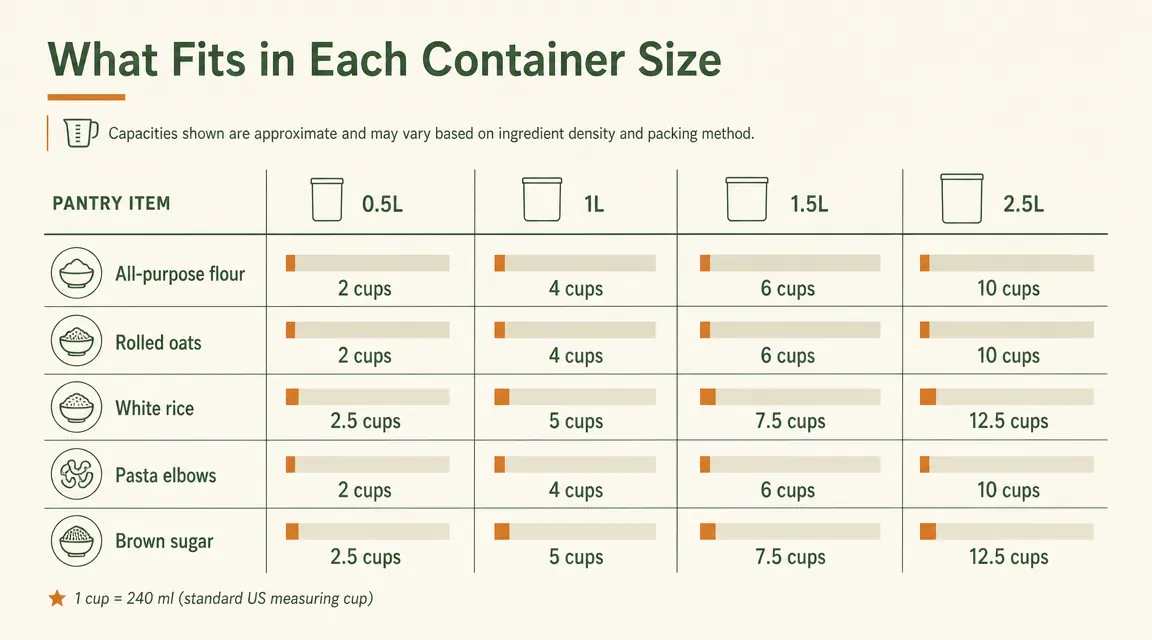
This is where the project pays off if you do it right, and creates daily frustration if you get it wrong. The rule is: a container should be nearly full when loaded with a standard grocery quantity. A container that is half-empty looks messy and does not protect contents as well because there is more air in the headspace.
A 2-pound bag of all-purpose flour fills a 2.5-liter container close to the top. A 1-pound box of pasta elbows fills a 1.0-liter container with a little room to spare. A 1-pound bag of rolled oats needs the 1.5-liter. A 2-pound bag of white rice just fits the 2.5-liter. Baking soda and baking powder, sold in small quantities, live comfortably in the 0.5-liter containers with room for the box's worth of product and then some.
Brown sugar is the one that trips people up. It packs dense, so a 2-pound bag fills a 1.5-liter container nearly to the brim. Use the 2.5-liter if you cook with sugar frequently and buy the 4-pound bag. Granulated white sugar from a 4-pound bag needs the 2.5-liter. Cornstarch, powdered sugar, and cocoa powder all fit well in the 0.5-liter.
Step 4: Clean the Containers Before First Use, Then Fill Them
Wash each container with warm soapy water and dry completely before you fill it. Residual moisture will clump flour and sugar and potentially cause mold in oats or nuts over a few weeks. I run them through the dishwasher on the top rack and let them air dry for an hour before filling. The CHEFSTORY containers are dishwasher safe, which saves time over hand-drying seven units.
When you fill, pour slowly to avoid flour clouds. For flour and powdered sugar, spoon into the container rather than pouring directly from the bag. Leave roughly half an inch of headspace at the top so the lid closes flat without compressing the contents. Pasta and grains can be poured directly from the bag.
Press all four latches down firmly on each lid. You will hear a faint click when each latch seats. If one latch feels loose or does not click, lift it and re-press. The seal is what separates an airtight container from a decorative jar. Unsealed containers look organized but do not stop moisture, bugs, or stale air from getting in.
Step 5: Label Every Container Before It Goes on the Shelf
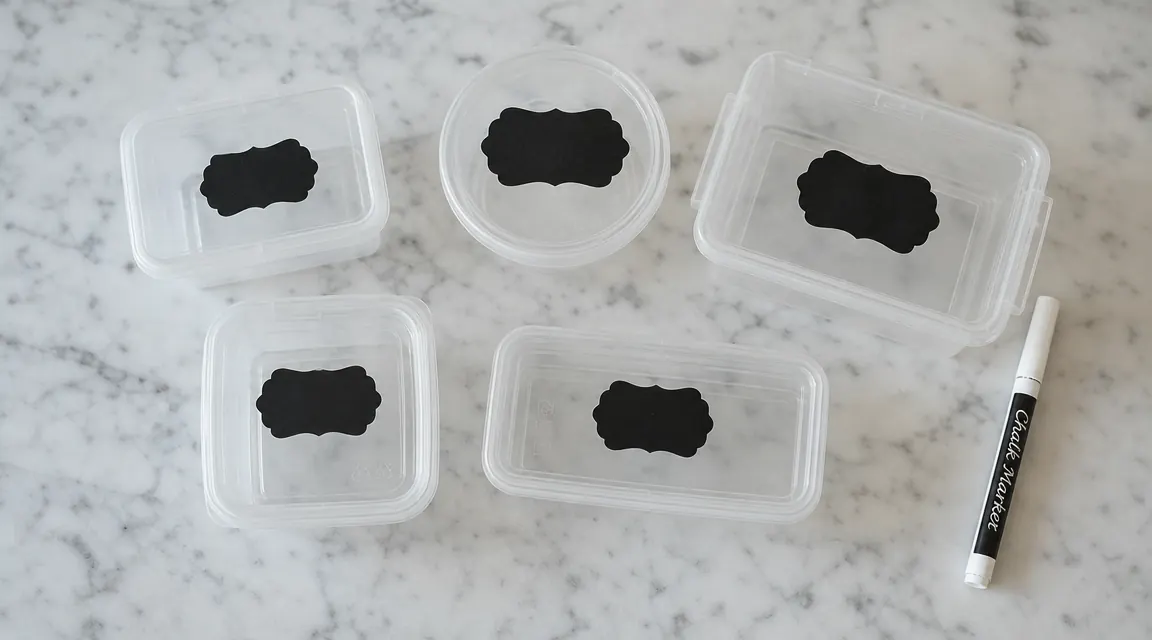
Skip labeling and you will be opening lids every morning trying to find powdered sugar versus cornstarch. They look identical in a clear container. CHEFSTORY includes 24 chalkboard labels and a chalk marker with the set, which is enough to label every container and have some left for the occasional relabeling when you switch a container to a different ingredient.
Write the ingredient name clearly on the label. I also write the date I filled the container in small text at the bottom of the label so I know how old the contents are. Chalkboard labels wipe clean with a damp cloth when you need to change them. If you prefer a printed look, removable vinyl label sheets printed on a home printer work well and look more polished, but the included labels are perfectly functional.
Stick the label on the front face of the container, centered vertically. Place every label at the same height across all containers so the shelf reads as one cohesive system instead of a jumble of individually labeled canisters.
The label is the only thing standing between you and opening four containers to find cornstarch at 7am. Take the five minutes to do it right the first time.
How to Arrange the Shelf So It Stays Organized
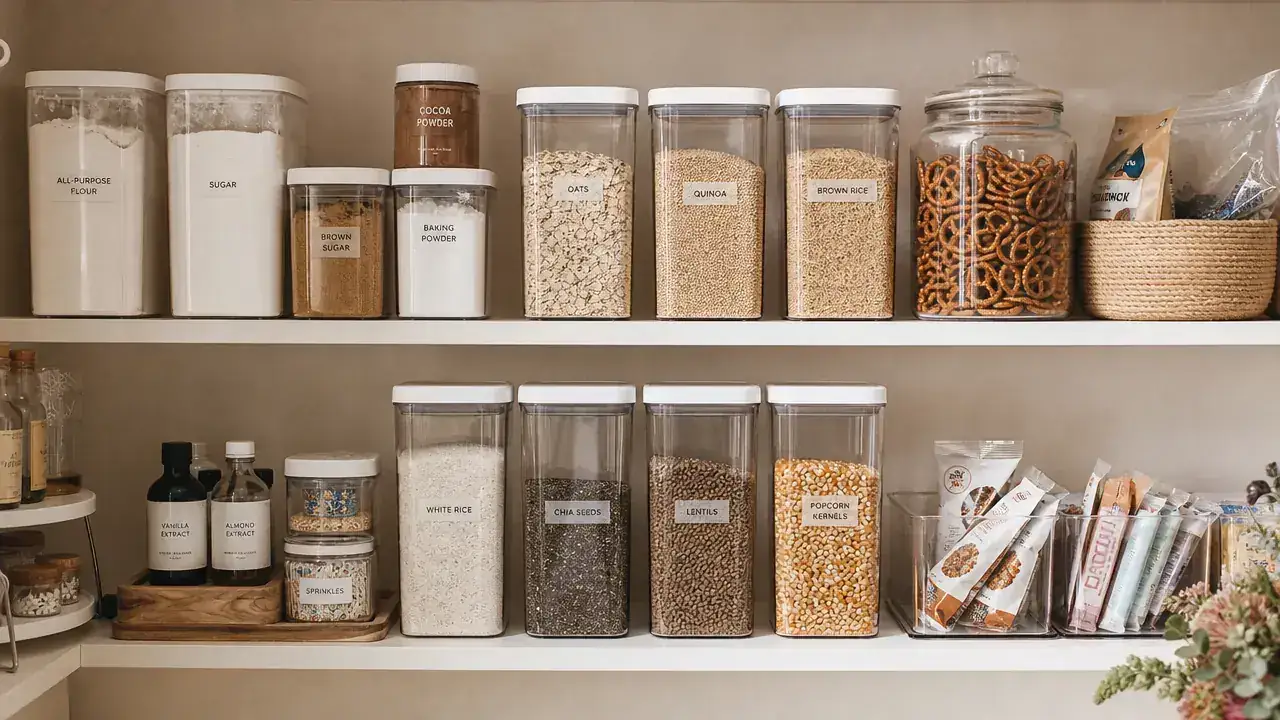
Arrangement is where most pantry projects fall apart on day thirty. The rule I follow: group by use frequency and category. Things you reach for every day go at eye level, front of shelf. Things you use weekly go at eye level but pushed back or on the second tier. Things you use monthly go on higher or lower shelves where they are less convenient.
Within a shelf, cluster by category. Baking ingredients together (flour, sugar, baking soda, baking powder, cocoa), grains together (oats, rice, lentils), pasta together. Clustering means when you start a recipe you pull from one zone of the shelf, not from four different spots. It also means restocking after a grocery run takes half the mental effort because each container has a permanent address.
Put the tallest containers at the back of the shelf and shorter ones in front. This sounds obvious but it is easy to ignore when you are just trying to get everything back on the shelf after a two-hour project. The 2.5-liter containers go in back, 1.5-liter in the middle row if your shelf is deep enough, and 0.5-liter and 1.0-liter containers in front. You can see every label without moving anything.
What Else Helps Beyond Containers
Containers handle dry goods but they are not the whole solution. A few additional tools that work alongside them without adding clutter or cost: a simple lazy Susan on the shelf for oils, vinegars, and condiment bottles that do not go into containers. A small tension rod mounted horizontally under a shelf to hold foil and cling wrap boxes upright. A row of small baskets on one shelf for opened chip bags, crackers, and anything that does not decant cleanly into a container.
None of those require drilling. The lazy Susan sits on the shelf. Tension rods use spring pressure between the shelf walls. Baskets sit on the shelf surface. The whole system stays renter-friendly. If you move, every piece comes with you.
The CHEFSTORY containers work well alongside these additions because the rectangular profile means they line up flat against each other without the dead space you get with round canisters. A shelf where everything is rectangular uses every inch more efficiently. That detail makes a bigger difference than it sounds when you are working with a 12-inch-deep pantry shelf.
For a deeper look at how these containers perform over months of daily use, including how the lids hold up and which sizes get the most use in a real kitchen, see the full CHEFSTORY containers review. If you want to understand why the switch from bags and boxes pays off beyond just the visual, the 10 reasons airtight containers change a kitchen covers the practical case in detail.
Ready to clear out the bags and boxes for good? CHEFSTORY's 8-piece set has everything you need to tackle the whole shelf in one afternoon.
Eight containers across four sizes, 24 chalkboard labels, a chalk marker, and BPA-free construction. Over 6,600 reviews and a 4.6-star rating. This is the set that started my current pantry system.
Amazon Check Today's Price on Amazon →